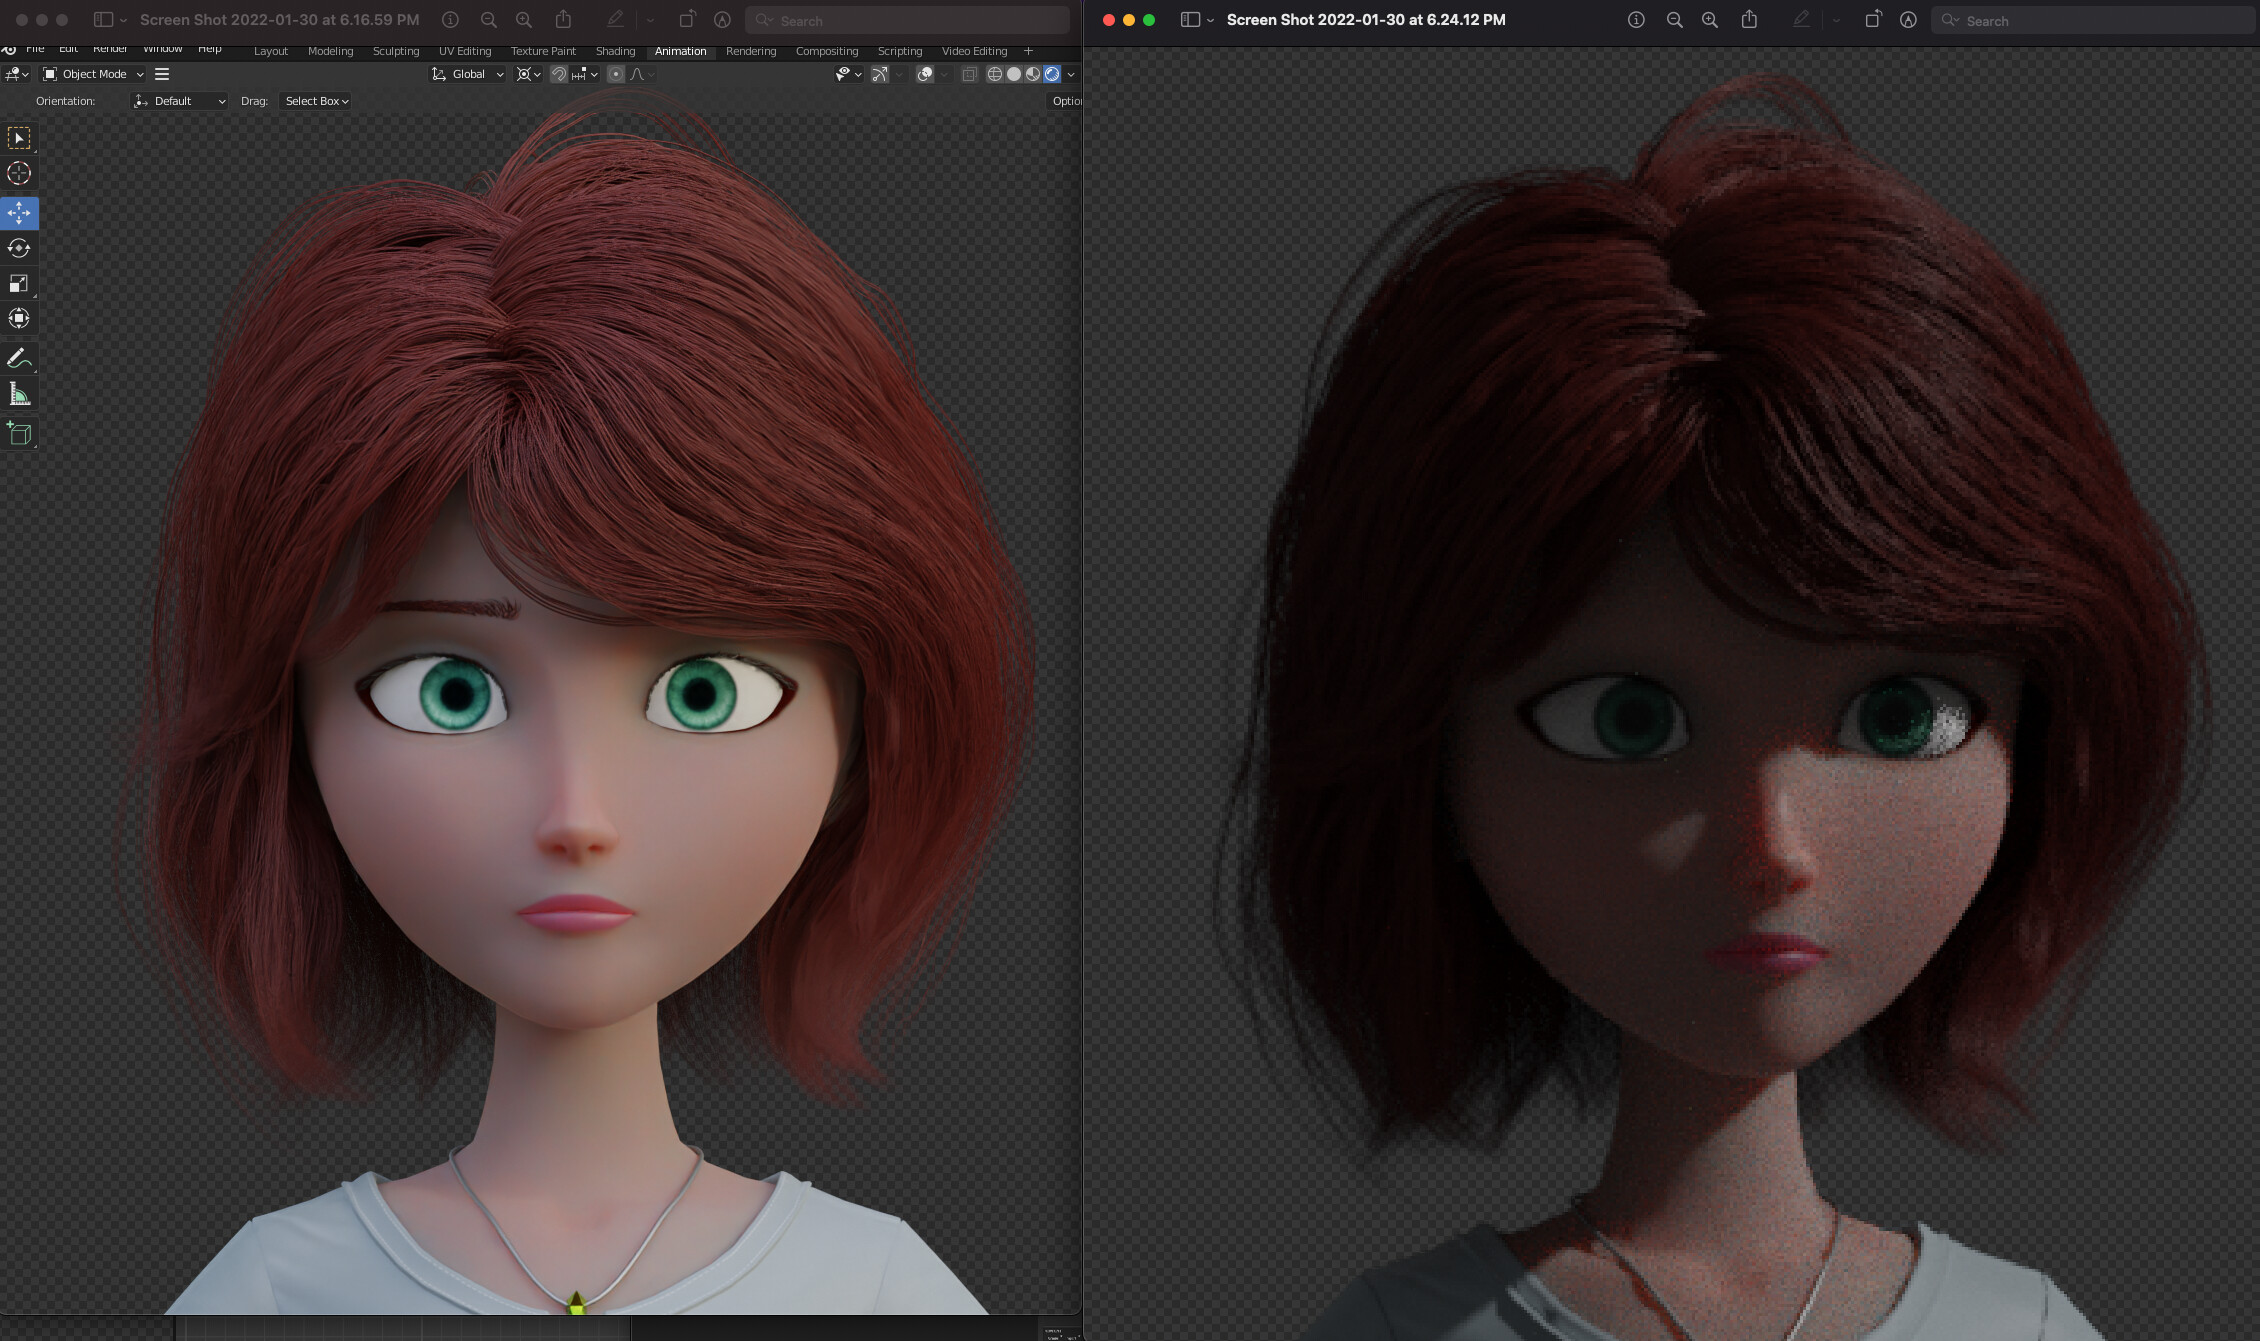
I’ve got a character I’m working on. She looks exactly like I need her to be in the final animation in the viewport display, which I believe is a material preview with studio lighting.
When I go to render in Cycles, it takes on a totally different look. Obviously, the lighting and sampling are an issue, and I think, it needs a different HDRI. But there’s got to be a simpler way to render what I’m seeing.
Is there a workflow that someone can share that shows settings to help mirror exactly what’s going on in the viewport? I’ve attached a couple of samples.
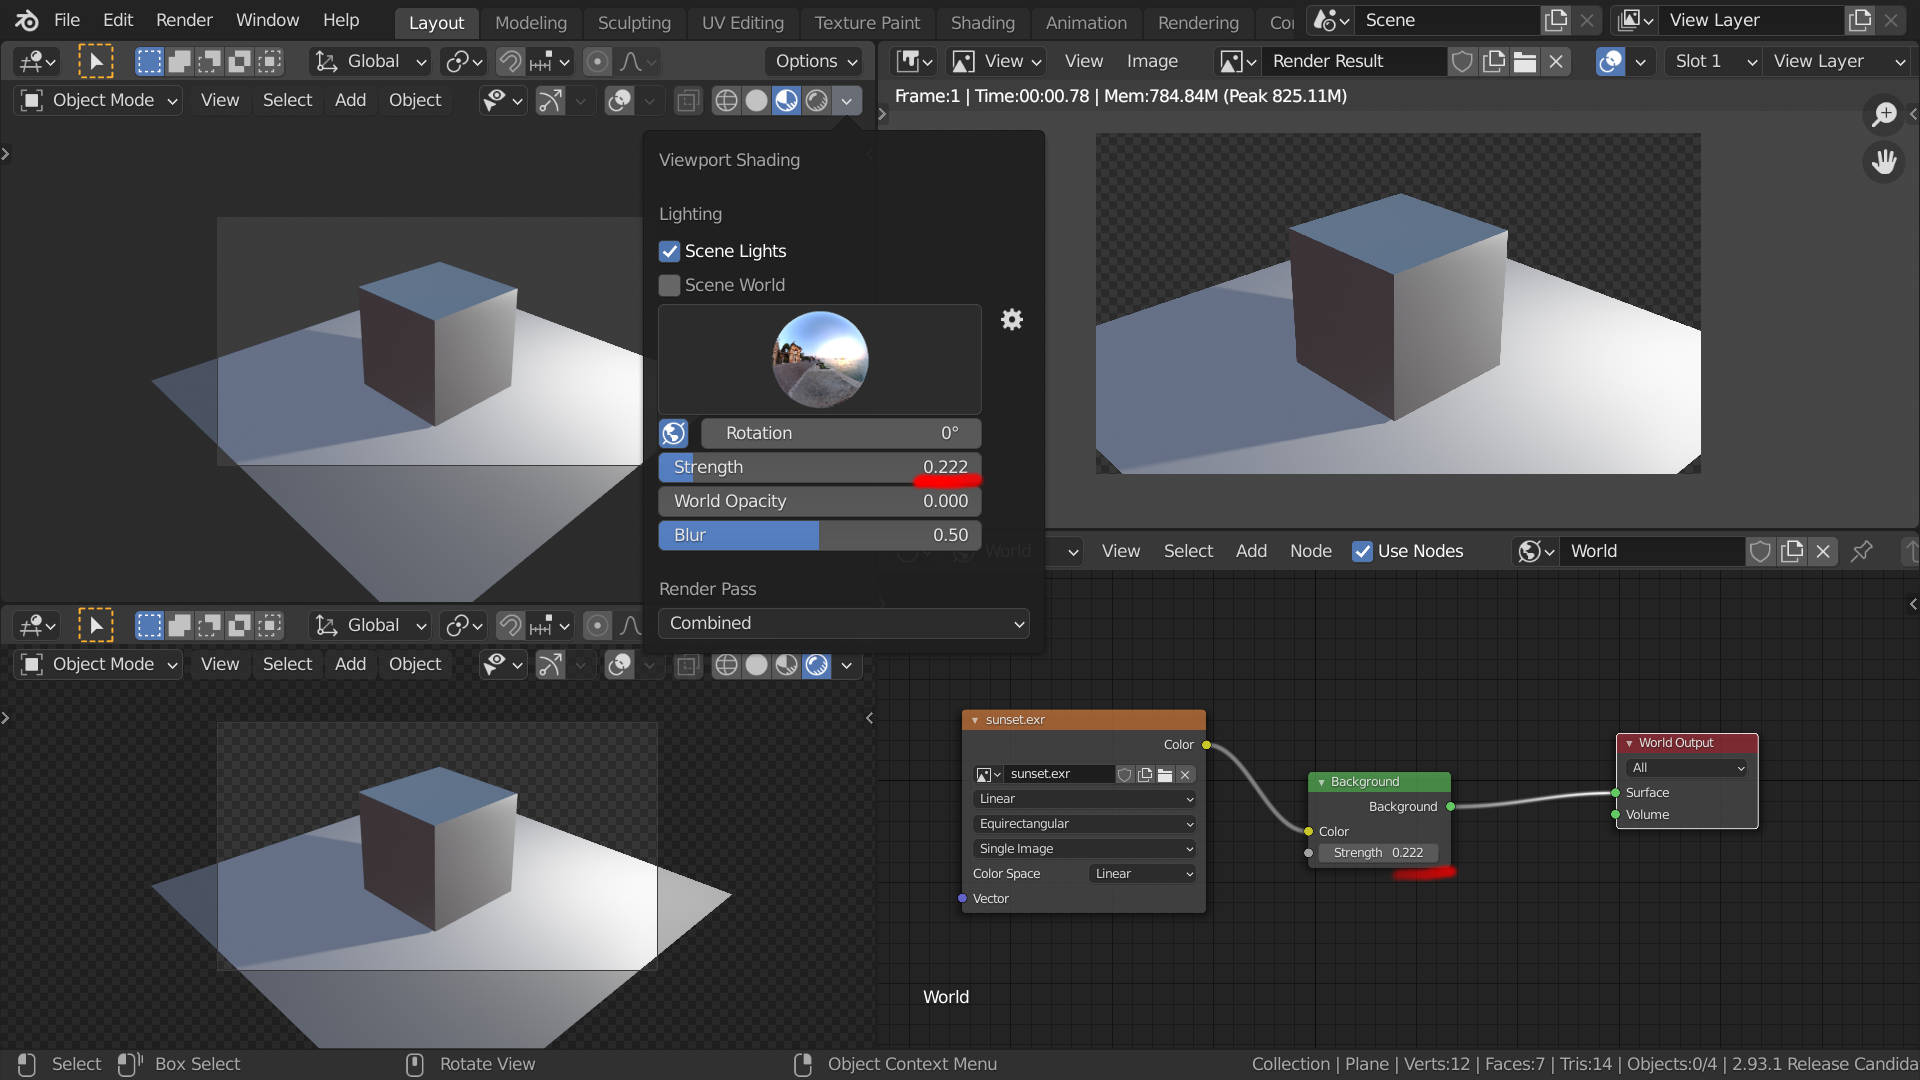
Not much information on your viewport shading settings but you are probably using a generic hdri instead of the “scene world”(gives light and reflections - no shadows - at a set strength) ,plus the scene lights as well (gives shadows) in your viewport settings.
To get the same result in the render you have to put an environment node with the same hdri in your world shader settings and set it to the same strength as you have in the viewport settings.
You can not blur the hdri in the world settings you world have to make a blurred copy of the hdri in Gimp or Photoshop if you want to blurr it.
You will find the default hdri’s in the blender folder 2.93/datafiles/studiolights/
Edit
You can set viewport shading settings to “scene world” and “scene lights” both for material and render preview. That way your views will always be constant with render output.
(If you want to use an hdri you would have to put it in the world shader.)