
Hello September and hello back-to-school season. Yikes! How can it already be “la rentrée” as they call it in France? For various reasons, August has gone by in a flash and we’re back to classes next week (I want to say “already” but it’s really been a lovely long summer so can’t complain…).
As well as stocking up on back-to-school supplies and stocking the freezer with meals (this is the intention, might not get done…), a priority for me is to make sure I have ALL the snacks. Especially in the first couple of weeks of teaching, I’m especially busy and often don’t have time to sit down for a proper lunch so snacks are my friend and savior. And yes, while I do have things like cut-up carrots and celery, dips and crackers and mini cheeses available for snacking, I DO like me some sweet snacks too. This is where it’s a shame (but also a good thing LOL) I don’t live in France because their “goûter“(after-school) snacks are the best (hey, did you know I wrote a book on that?)
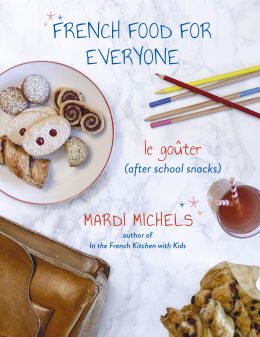 Click here to buy French Food for Everyone: le goûter
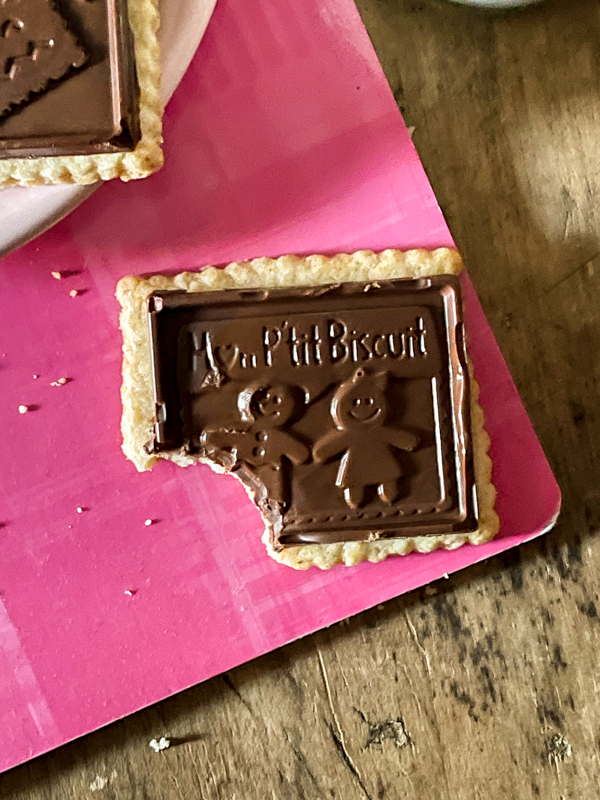
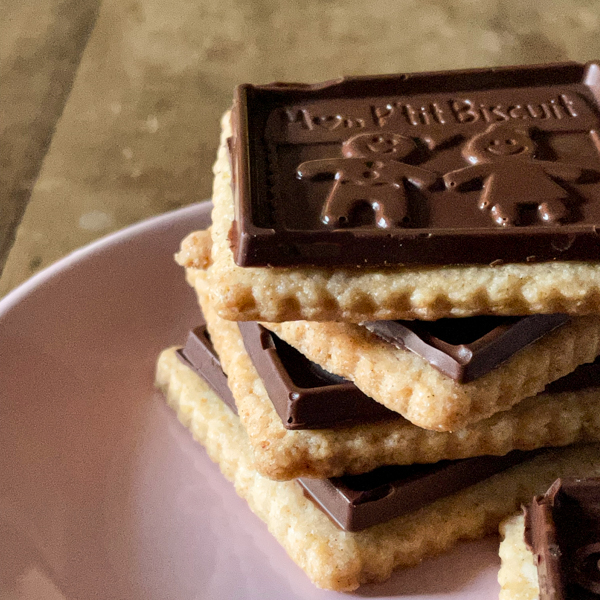
One of my absolute favourite French cookies is the Petit Écolier – a butter cookie topped with a milk, dark or white chocolate “tablette” – they are simple but delicious and SO more-ish and I’ve wanted to try making them myself for a while. These days you can find them in some specialty stores here in Toronto and certainly online but I love making homemade versions of store-bought foods – I love the challenge and the “wow” factor when you serve them to friends!
Now, don’t get me wrong, these cookies I am sharing today certainly do NOT look perfect but boy they tasted good and they were fun to make. And I’m ok with things not being picture-perfect – it’s more realistic to see what *might* happen when you make them, dear reader.

I picked up a special kit (<<< affiliate link but it’s the exact one I used) when I was in France to shape the cookie and make the chocolate “tablette” to fit. I have Petit Beurre cutters already but didn’t have the silicone moulds for the chocolate so figured it was easier to pick up the kit. Heads up, the kit only has ONE 6-cavity mould for the chocolate so you have to make a couple of batches (and maybe more if you break some of them, like I did!).
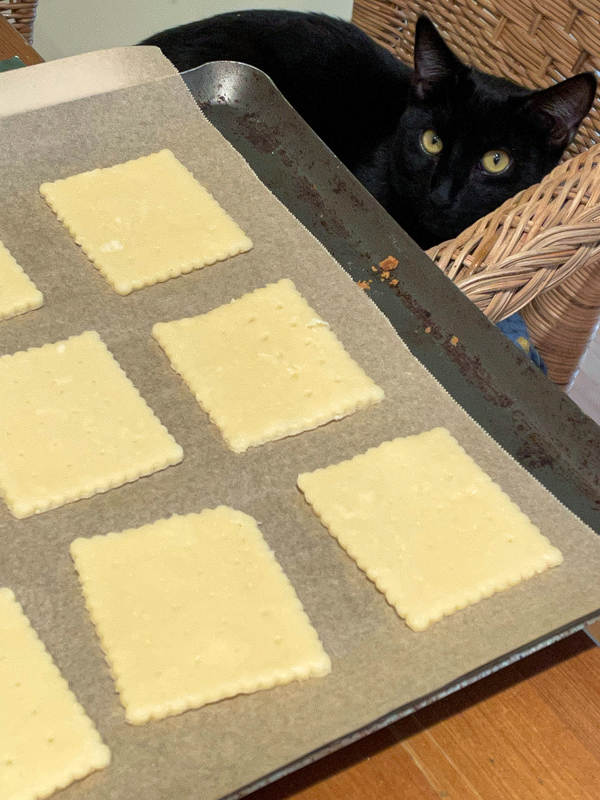
I used the Petit Beurre cookie recipe from In the French kitchen with kids but halved the recipe to make 12 cookies. *Someone* (meet Cole, our new kitten who we fostered, then adopeted) had their eye on the whole process…
While the cookies were baking, I fiddled around with the chocolate “tablettes“. I’ll share some tips in the recipe as I wasn’t entirely successful at making perfect chocolate toppers.
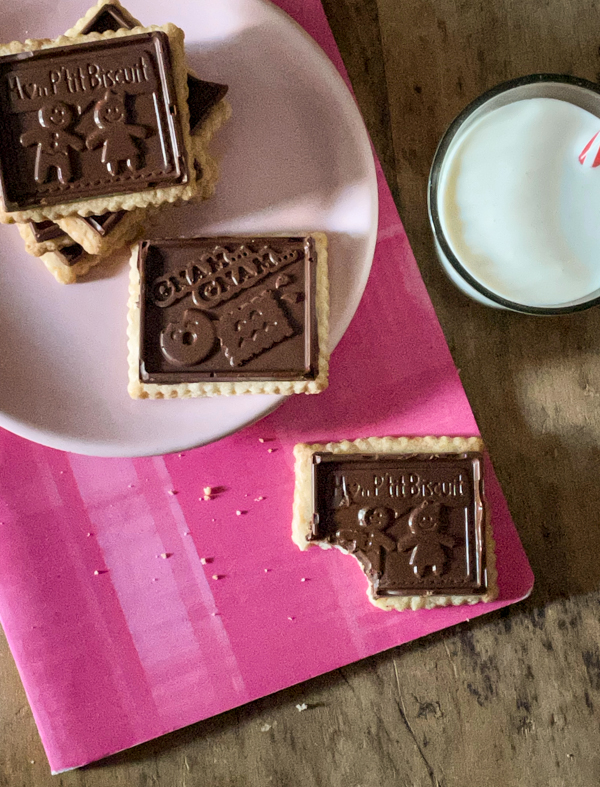
French Butter Cookies with Chocolate (Homemade Petit Ecolier Cookies)

Homemade "Petit Ecolier" cookies - buttery cookies topped with chocolate "tablettes" - just like you buy in France!
Ingredients
for the cookies:
- 3/4 cup (113 g) all-purpose flour
- 1/4 cup (50 g) granulated sugar
- 1/2 teaspoon baking powder
- 1/4 cup (57 g/ 4 tablespoons/ 1/2 stick) cold salted butter, cut into small cubes
- 2 tablespoons milk
for the chocolate “tablette”
- 1 cup (approx. 100g) semi-sweet or milk chocolate chips (I like a mix of both kinds)
Instructions
- Place the flour, sugar and baking powder in the bowl of a food processor fitted with a metal blade. Pulse a few times to combine.
- Add the cubed butter and pulse until it resembles fine breadcrumbs.
- Add the milk and continue to pulse until the dough comes together. The dough will be fairly soft.
- Gather the dough into a ball, then flatten it into a rough disk. Roll the dough between two sheets of parchment paper until it’s 1/4 inch (6 mm) thick. You should be able to measure 12 of the cookies on the dough (place the cutter on the rolled-out dough and lightly press down. If you cannot measure 12, roll a little further).
- Place the dough (still between the two sheets of parchment paper) on a baking tray and refrigerate for at least 1 hour.
- Melt the chocolate chips in a small bowl over a pan of boiling water (don't let the bottom of the bowl touch the water) or in a microwave at approx. 60% power for 60-90 seconds in 30-second bursts.
- Place the silicone mould on a small baking try or a plate so it lays flat.
- Carefully drizzle the chocolate over the silicone cavities (about 1 tablespoon per "tablette"). Use the back of a spoon or an offset spatula to carefully push the chocolate into the pattern. Try to clean around the edges of the cavities so the chocolate is not flowing over the edges.
- Place the tray and the mould in the fridge or freezer until set.
- To remove the chocolate shapes, place the mould upside down on a piece of parchment paper and carefully press and peel the mould away from the chocolate. Be careful, it's delicate!
- Repeat until you have 12 "tablettes". Set the finished chocolates in the fridge until you are ready to use.
- You will have some chocolate leftover - this will act as the "glue" for the chocolate on the cookie.
- Preheat the oven to 350 ̊F (175 ̊C). Line a large baking tray with parchment paper. Remove the dough from the fridge and allow it to sit at room temperature for about 10 minutes.
- Cut out cookies using a rectangular cookie cutter that measures 2.5 x 2 inches (6.5 x 5.5 cm). Place the cookies on the parchment-lined baking tray. They will not spread so you can place them fairly close together—just make sure they are not touching.
- Bake for 14 minutes, turning the tray from front to back halfway through the bake, until the cookies are golden around the edges but still pale in the centre.
- Remove the cookies from the oven and, using an offset spatula, immediately place them on wire racks and allow to cool completely.
- Once the cookies are completely cool, spread the remaining chocolate (it may have hardened by now so you might need to re-melt it) to in a thin layer on one cookie at a time.
- Remove the chocolate "tablettes" from the fridge and use an offset spatula to lift one and place it on the chocolate "glue". Work quickly!
- Continue until all cookies are topped.
make the cookie dough:
Make the chocolate “tablettes”:
bake the cookies:
assemble the cookies:
Notes
I found the chocolate topping was getting kind of soft so I stored these in the fridge in an airtight container, layered between parchment paper. Just bring them out of the fridge a few minutes before you want to eat them.
Recommended Products
As an Amazon Associate and member of other affiliate programs, I earn from qualifying purchases.


I feel like these cookies are representative of the new school year – great in concept (so many great ideas I want to implement in the classroom) but sometimes a little flawed (trying new things, there’s always a risk they might not go the way you think they will. And that’s ok!).
I certainly know *I* wouldn’t say no to one (or two) of these next week!
_________
Please note: This post contains affiliate links. I am a participant in the Amazon Services LLC Associates Program, an affiliate advertising program designed to provide a means to earn fees by linking to mazon.com and affiliated sites. This means that if you click over and purchase something, I will receive a very small percentage of the purchase price (at no extra cost to you). Thank you in advance!
_________
Buy my books! In the French kitchen with kids and French Food for Everyone: le goûter (after school snacks) and le dîner (dinner) are out now! Click here for details and how to order!

Like this post? Get blog posts delivered to your inbox! Sign up here!
These look so good – no wonder Cole is eyeing them off.
Oh wow…. send some over IMMEDIATELY.
LOL – as if they’d last until next week…. 😉